Important!!!
First of all, you have to do backup like here: https://splynx.com/wiki/?wikipage=Console/Backup
use command:
cd /var/www/splynx/system/backup/backup
./backup
./backup full=true
Now we can begin to upgrade our server.
So we have:
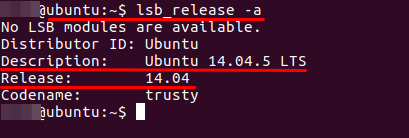
Let`s start to upgrade:
1.Make your server system up-to-date
sudo apt-get update && sudo apt-get -y upgrade
2.Next step is to fully upgrade the system but without new version distributive:
sudo apt-get -y dist-upgrade
3.And now we upgrade version distributive:
sudo do-release-upgrade
-
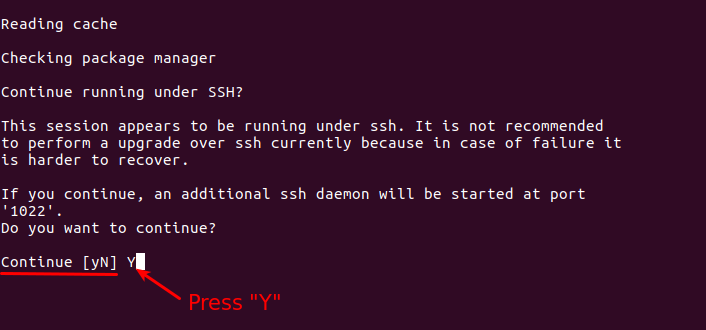
if you connected via ssh, you’ll see:
please press “Y” -
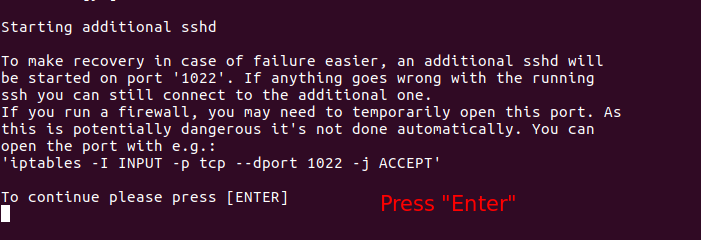
after that will be information about creation of additional sshd
just press “Enter”-key -
next we will see updated information which looks like this:
press “Enter”-key and remember it -
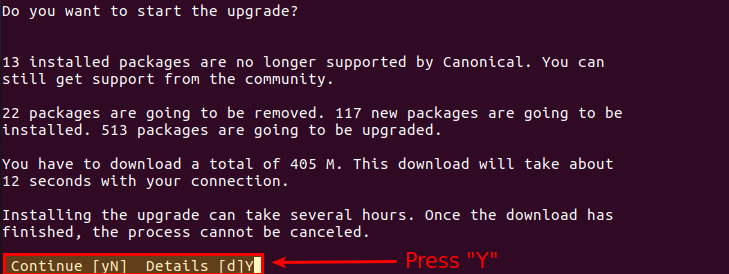
now system will start the upgrade and ask us about it:
please press “Y” -
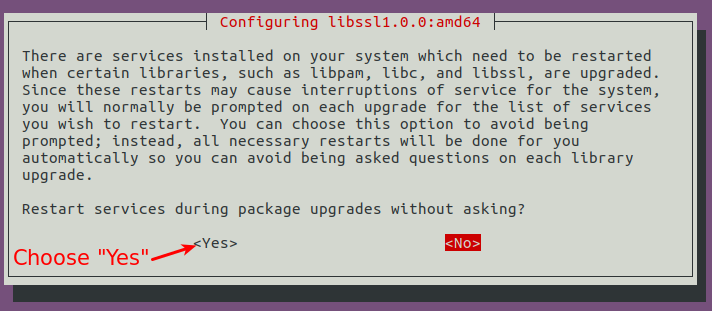
in window “Configuring libssl”:
select “Yes” -
next we have to confirm modification of some config-files:
press “Y”
-
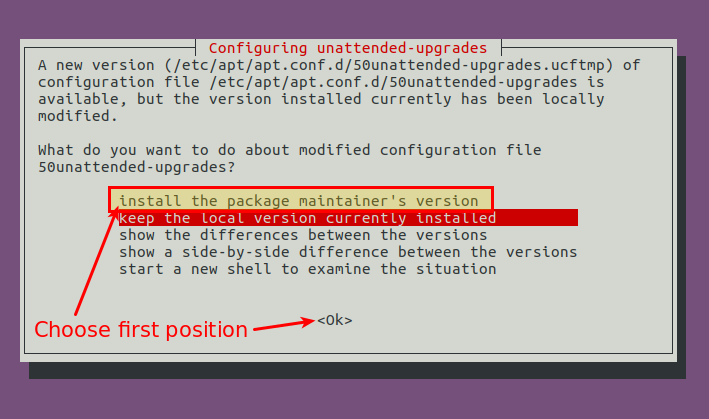
in window “Configuring unattended-upgrades”:
select first option - “install the package maintainer’s” and click “Ok” -
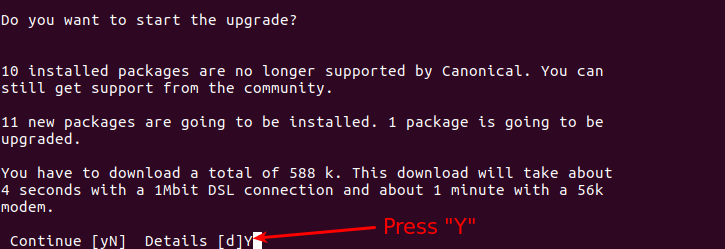
after that system will ask us to install new packages and remove old:
press “Y”
- at last, system was upgraded:
press “Y”
When system has rebooted we will see:

But that’s not all)
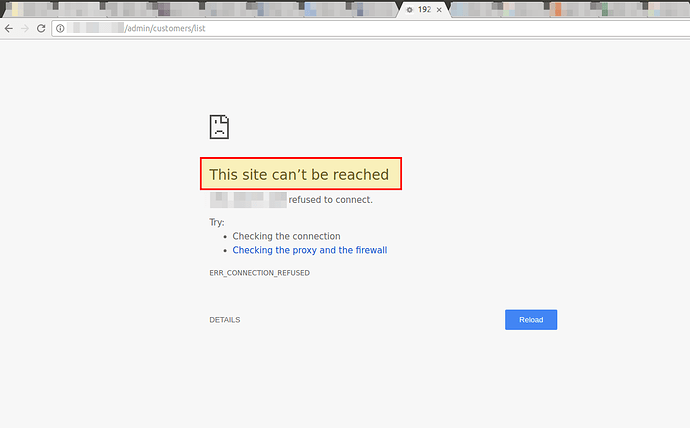
When you try open Splynx in web-browser, you will see:
Now you have to reinstall Splynx:
- Remove old file “50unattended-upgrades.ucf-old”:
sudo rm /etc/apt/apt.conf.d/50unattended-upgrades.ucf-old
2.Install Splynx:
sudo wget -qO- https://deb.splynx.com/setup | sudo bash -
sudo apt-get install splynx
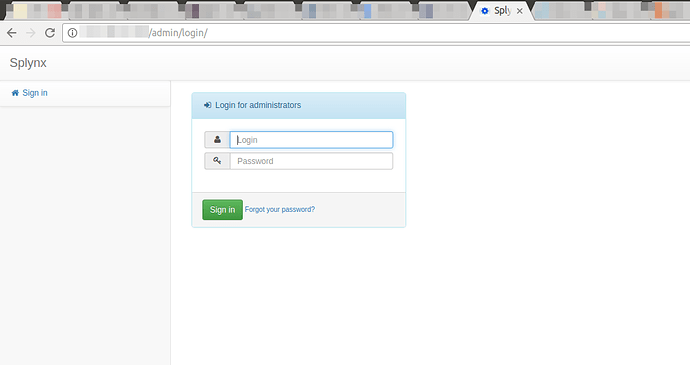
And that’s all now, you can see in a browser:
